
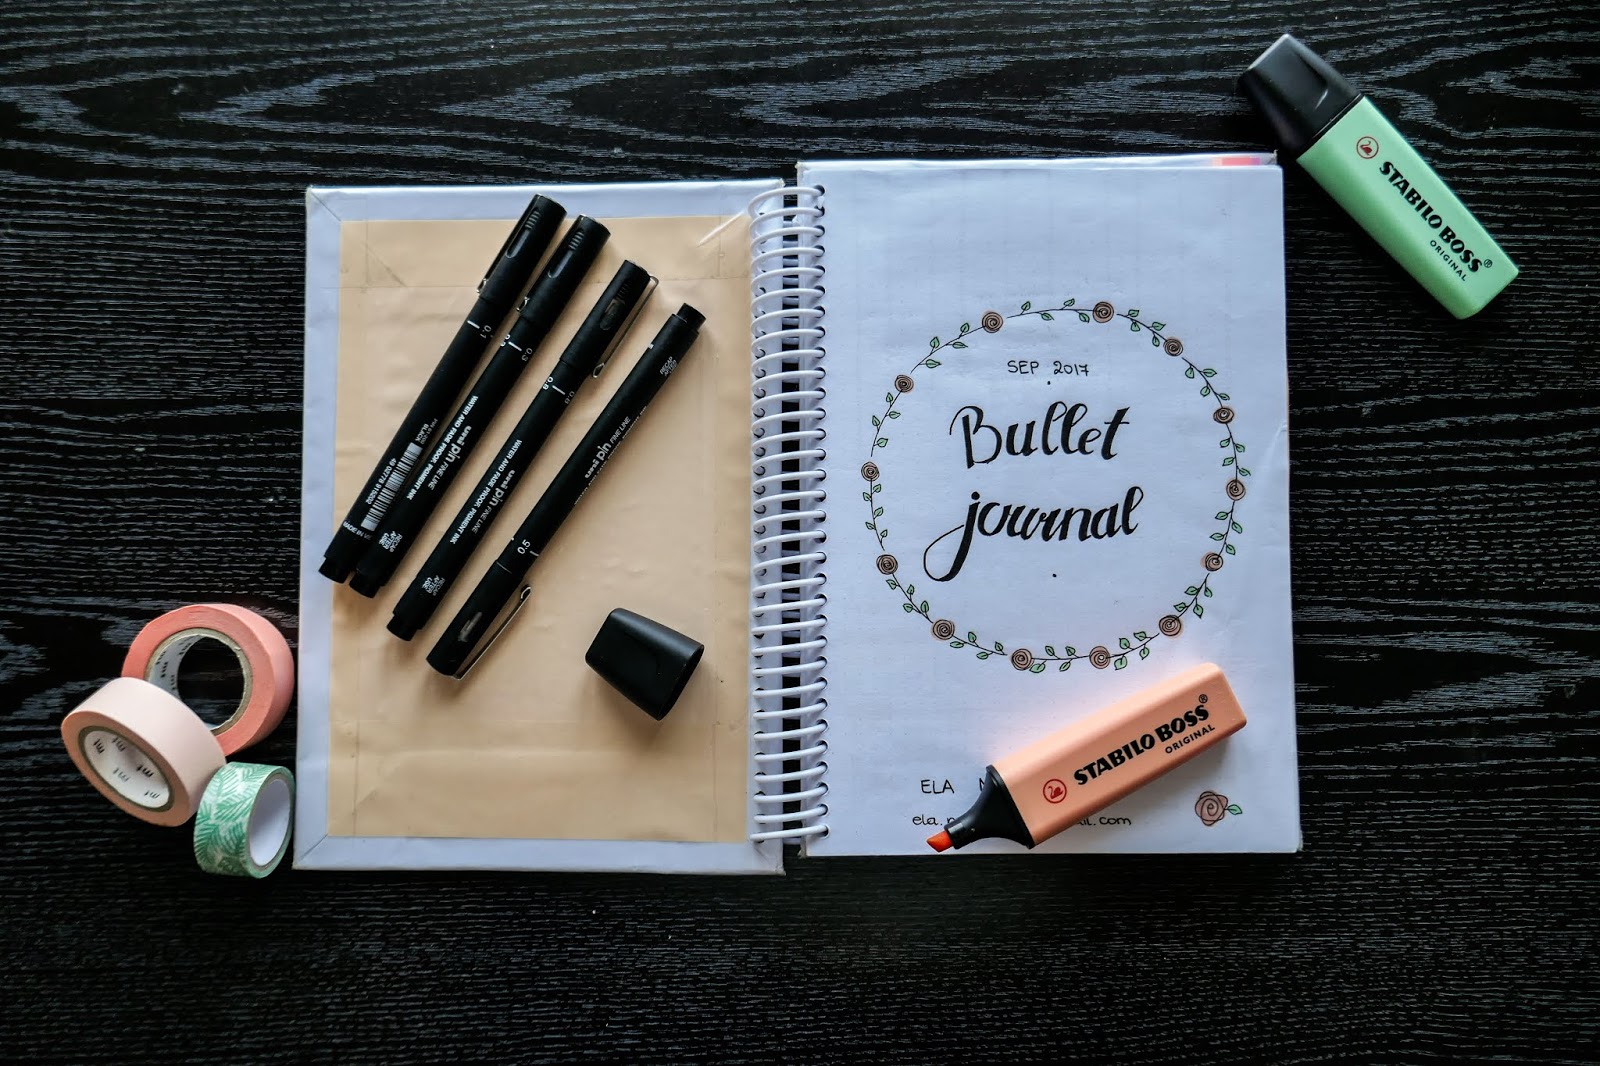
DIY Bullet Journal
1:11 PMHi guys! 😊
Since school is starting soon, I decided it's time to share with you how I made my bullet journal. When I was in high school, I would always buy expensive journals and then end up using them only for the first few weeks. My preferred layout was different every month - sometimes I needed more space, sometimes the pages in my journal were empty. So when I discovered bullet journals, I was over the moon! I first started using just a regular notebook, but the result wasn't very nice and I figured I needed a real bujo. When I found some online, I realized they were waaaaay too expensive and decided I could DIY a bujo for much less.

So here we go - it's very simple to make and you can customize it so it looks just like you want it. Let's do this! 😇
Step 1: MAKE THE COVERS
It's time to get creative! You can use a wrapping paper, maybe some fabric, or do a nice drawing if you love to draw. For my covers, I stamped a plain white paper with gold polka dots, but you can use potato stamps in any shape you like. Check Pinterest for ideas - it's your best friend when DIYing, trust me. 😜
Now it's time to figure out what the base for your covers will be. I took apart an old box, because I love hard covers. You can use thinner cardboard or plastic if you prefer it (take apart an old folder you have laying around, for example).
Next decision is what the binding method you want is. I love the spiral, because with it, the journals pages don’t get in the way when you’re writing. You can also go for stitching and gluing the pages together. For the spiral you'll need two covers (one for the first page and one for the last), for stitching and gluing you'll need one big cover (like the first and last page together plus a connecting piece that should be as thick as all the pages in the journal combined).
When you've made all these decisions it's time to put the covers together. Wrap the wrapping paper / fabric / drawing, ect. around your base. Make sure that the front of the first page and the back of the last page look as neat as possible. The inside can be a bit messier, because you can cover that up with a coloured paper like I did. When you are happy with how your covers look, wrap them in clear self-sticking plastic foil and you're done.

For my pages I chose paper with very thin, barely visible grey dots. I love this pattern because I can draw on the pages and the dots don't bother me, but at the same time they are very helpful when I draw monthly calendars. You can use the same pattern (download here), or you can choose blank paper or whatever you prefer. When you have your pages ready, cut them in half for A5 size of bujo.

Step 3: ASSEMBLE THE BUJO
The last step is to put everything together. I first went to a photocopy store and asked the assistant to bind the journal for me, but the machine couldn't make holes in the covers, so I took the covers and a sample page with holes to a shoemaker. Then I took them back to the photocopy place and they bound it together.
If you decided for stiching or gluing the pages, just follow the tutorial here.
That's it, your bujo is done! It costs much, much less than it would in a store, it's unique and completely customizable. I just love it and can't wait to make a new one!

If you liked this post, subscribe and follow me on IG and Facebook @elarosaria.
Talk to you soon 😊
xoxo
Ela

0 comments